MyStrings Onboarding

Quick guide from first launch to first string entry.

Use this sequence to onboard new users in the app: open home, understand sidebar navigation, create a racquet, open racquet details, then create the first string job entry.

Step 1

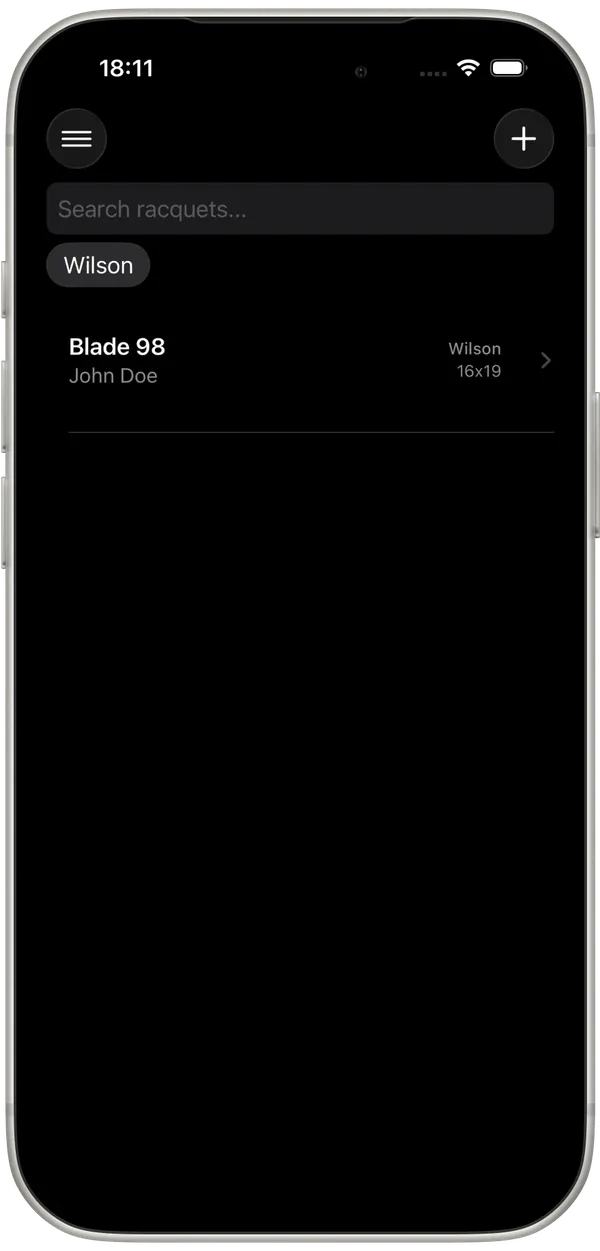
Start on the home screen

The home screen is the user start point after opening MyStrings. Show where primary actions are located and highlight that this is the launch point for daily usage.

Suggested talking point: "This is your base view. From here you can open the sidebar or jump directly into your racquet and string documentation flow."

MyStrings home screen

Step 2

Open sidebar and explain menu entries

Walk users through the sidebar so they know where each area lives before creating data.

Profile

Personal settings and user info.

Racquets

Main racquet documentation area.

History

Review documented string jobs.

Data Transfer

Move local data between devices.

MyStrings sidebar menu

Step 3

Create a racquet

Guide the user through adding the first racquet. Explain that every string job is documented under a racquet, so this step is required before logging strings.

Suggested talking point: "Start with model and basic details so every later string entry is connected correctly."

MyStrings create racquet flow

Step 4

Open the racquet details view

After creating a racquet, open it to show the details view. This screen displays racquet information and the list of string jobs for that specific racquet.

Suggested talking point: "This view is your racquet timeline. It contains all historical and future string jobs for this racquet."

MyStrings racquet details with string jobs list

Step 5

Create the first string entry

From the racquet details view, create and document the first completed string job. This confirms the full app workflow and helps users understand the daily habit.

Suggested talking point: "After this first entry, your documentation process is set. Continue adding jobs as you string racquets."

MyStrings create string entry flow